How can we help?

Find answers fast: Ask a question, search for keywords, or explore articles below.

How to Add Participants

Kathryn Johnson
Kathryn Johnson
  • Updated
Click the People tab in your lefthand navigation menu.
 
 
Open the List of Participants
 
Click Add Participant +
Add PArticipant.png

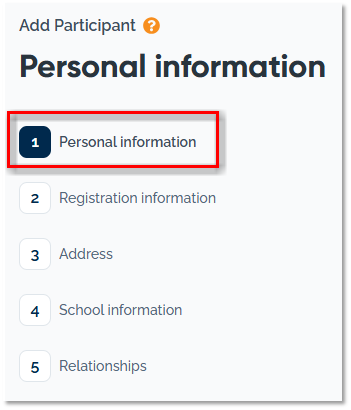
Add Participant Section 1.pngPersonal Information

The first section of the Add Participant form is the Personal Information screen. 
 
Any field marked with a red asterisk is required. 


One of the required fields is the Participant ID Field. This is typically the local School District ID number for students. There may be cases where this ID is required but is not known or relevant, most commonly when a participant is an adult. In these situations, click the green # to have the system create a random, unduplicated Participant ID.
Add PArticipant ID.png
The form can only be submitted once all required fields are complete. There may be required custom fields (located at the bottom of the screen) that you must complete. 
 
When complete, click Next Step.
 Add Participant Section 1 Next Step.png

Potential Duplicate Participants

After this screen is saved, the system analyses existing participant records for possible duplicates. It looks at matching First Names, Last Names, and Participant IDs. To prevent duplicates, verifying the correct Participant ID was entered is important. 

If all three fields (First Name, Last Name, and PArticipant ID) exactly match, the Duplicate Participant widget will trigger. You will be prompted to add a new registration record for the existing participant rather than create a duplicate record using the Add Registration + button. 

Duplicate Participant Widget.png

If two of the three fields match, it will still trigger the Duplicate Participants widget. This time, you will have two options:

  1. You can add a new registration record for one of the potential matches by using the Add Registration + buttons to the left of the correct name.
  2. If none of the potential matches listed is the correct participant, you can add a new record to the system using the Add New Participant button. 
Duplicate Participant Widget 2.png

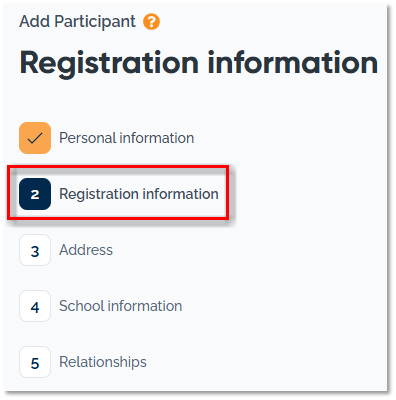
Add Participant Section 2.pngRegistration Information

The second section of the Add Participant form is for Registration Information.

Any field marked with a red asterisk is required. 


Select the Registration Site and Registration Period. The Registration Period dates will auto-fill; change them if needed. 

Optionally, select any other Enrolled programs the participant is participating in that you want to track in the system. To learn more about managing enrolled programs, read this article. 

Click Next Step.
Add Participant RegInfo Next Step.png

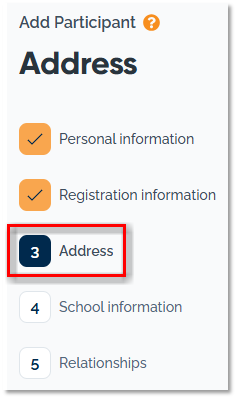
Add Participant Section 3.pngAddress

The third Section of the Add Participant form is the address section.
 
Any field marked with a red asterisk is required. 


Fill out the new participant's address information.
Add PArticipant Address 1.png
Check the Same as home address box if the participant has no secondary address.
 
If there is a secondary address for the participant, leave the Same as home address box unchecked and fill out the address information. 
 
There may be required custom fields at the bottom of the screen that you must complete. 
 
Click Next Step.
Add Participant Address Next Step.png

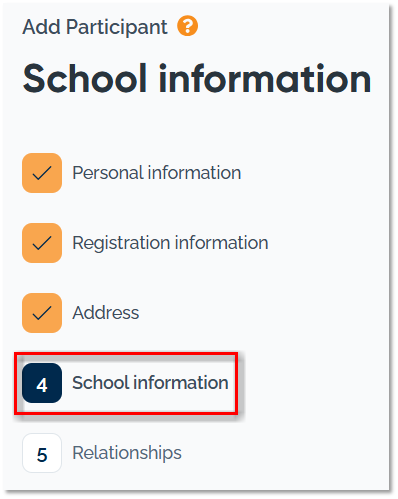
Add PArticipant Section 4.pngSchool Information

The fourth Section of the Add Participant form is the address section.
 
Any field marked with an asterisk is required. The form can only be submitted once all required fields are complete. 


Fill out the school information for the participant. There may be required custom fields in the form, depending on your system settings. Click Next Step.
Add PArticipant SchoolInfo NextStep.png

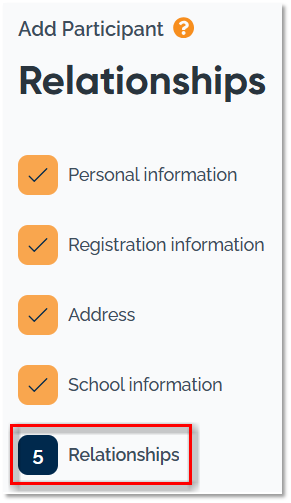
Add Participant Section 5.pngRelationships 

The fifth Section of the Add Participant form is the Relationships section.

To learn more about working with relationships, please read this article


Add PArticipant Add Relationship.pngTo add relationship records for this participant, including parent/guardians or emergency contacts, click + Add Relationship


Any field marked with a red asterisk is required. The form can only be submitted once all required fields are complete. 

Add PArticipant Relationship1.png
Answer the required questions about the relationship contact. 
 
If more than one relationship record is needed for the participant, click + Add Relationship again. Repeat the process of filling out the form. 
Add Participant Relationship2.png

Add Participant Save.pngOnce all relationship records are added, click Save Participant

After saving, the system redirects back to the full record for the new participant. You can add information in other sections of the participant's profile. For programs supporting students experiencing homelessness, be sure to review and update the McKinney-Vento section as needed. When making any edits to the other sections of the participant's record, be sure to click Save at the bottom of the record.

Available sections within the participant record vary based on system type and user security level. 

SST Add Participant PrifSections.png

Was this article helpful?

0 out of 0 found this helpful

Have more questions? Submit a request