To track each date more than one participant receives a service, click the Participation Tab in the left-hand navigation menu.
Click Enter for Activity.
The form has drop-down menus for selecting activities and sessions. Next, select the date using the calendar icon. A calendar control will appear. Click on the date of participation or type it in the date field. Click Next Step.
An important note about selecting calendar dates:
Some dates on the calendar will be crossed out and not selectable. Crossed-out dates represent dates not within the date range of the Session's Schedule, or the site is closed as defined in the Site Calendar section of the system.
Session Schedules are established for both a date range and specific days within that date range. If a date is selected when selecting that is not one of the specific days the Session was scheduled, the message below will appear.
You may change your selection to a date the session was scheduled to be offered (in the event an incorrect date was selected) by clicking Select another session/date, or you may add this date to the Session schedule and continue to add participation by clicking Schedule and continue.
If the site os closed on the selected date, a warning at the upper right will appear (see image below). Pick a different date to continue.
The next screen lets you indicate which participants attended the selected activity session on the selected date.
To filter the list of people, use the "Enrolled participants" option (those participants that were signed up for the activity and are expected to be there) or “All participants" (all people in the participant list for the current year) option. Note the "Enrolled participants" option only appears for Scheduled Activities, not for Drop-in or Unscheduled Activities.
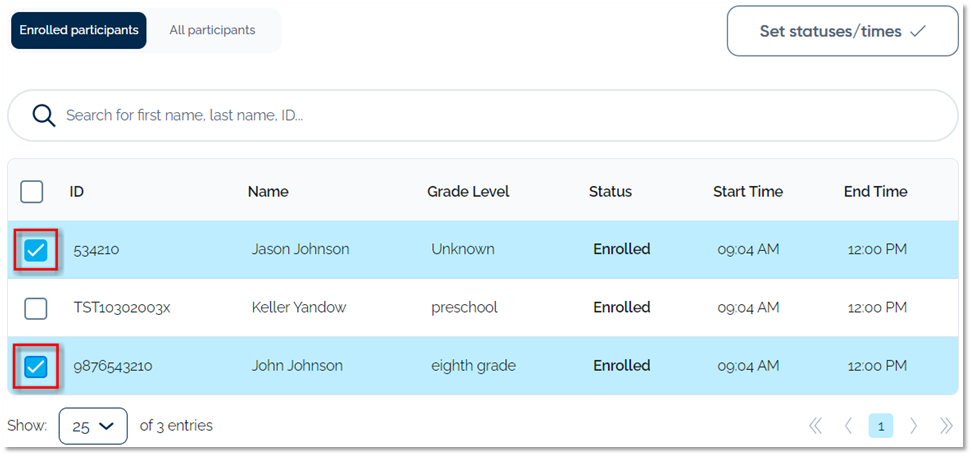
After filtering the list or using the search bar to locate an individual participant, check the box to the left of each person's name you wish to change their status from Enrolled to another status (Present, Absent, etc.) Checking the top box checks all people – if you want to mark most of the people, it may be faster to check all of them with this box and then uncheck some.
Updating Status for Multiple Participants:
The next step is to update the checked people's status. By default, all participants' status is "Enrolled." To update their status, use the Set statuses/times button.
On the screen that appears, choose the status of Present from the drop-down list to record the checked participants' status as having attended. Then verify that the Start and End times (defaulted from the Session Schedule set up in the Activities section) are accurate for that day's session. If not, change the times. To quickly change the Start and End times to the time it is when recording attendance in the system, click the Now links. You can also enter Notes about that day's participation for this group of participants.
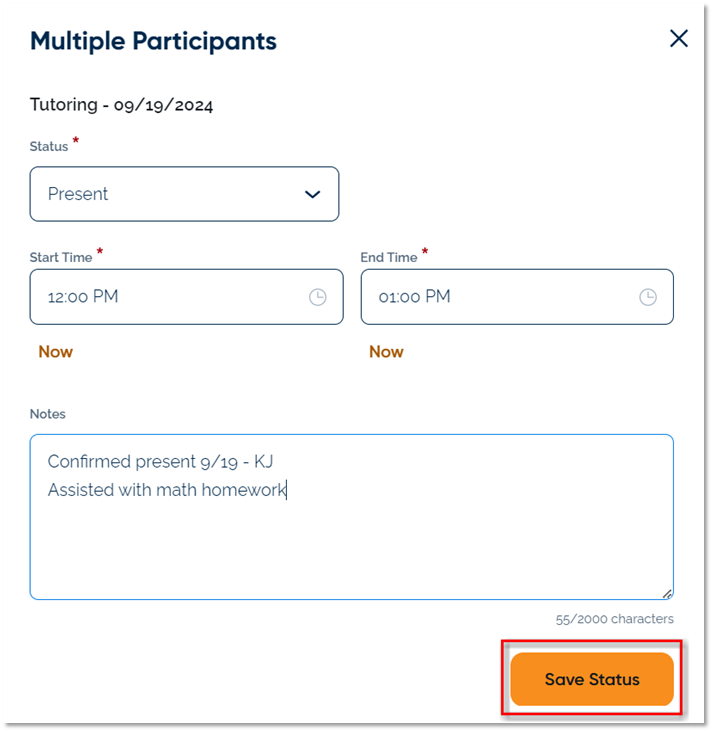
Click Save Status when done to apply the selected status and times to all people in the checked group.
To update the statuses/times of a different group of participants, repeat the steps above by checking the boxes for the new group and then using the Set the statuses/times button to update their status/times.
For example, after recording a group of "present" participants, you can record a group of those who were "absent."
Updating Status for an Individual Participant:
To update an individual's status, click on their name (not the check box to the left of their name) in the list of people; a screen with their name, date and session will appear. On this screen, you can update their status, participation times and Notes about the participation. To quickly change the Start and End times to the time it is when recording attendance in the system, click the Now links
Click Save Status when done to apply the status and times to that individual.
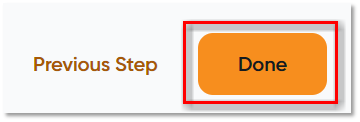
Then click Done at the bottom of the screen.
If any of the participants enrolled for the selected Activity Session still have an "Enrolled" status, a message will appear asking if you want to set their statuses.
For example, if you want to mark those "Enrolled" participants to a different status (e.g., "Excused Absent)," do that on the screen that appears. Click Save Status when finished updating the statuses of the new group. Click Done when complete.